Since we purchased our Lakewood Ranch home 3 years ago we have had to replace a number of things. Can you say contractor grade? We replaced ceiling fans, lighting fixtures, the kitchen sink, the washer/dryer, and even the refrigerator. These items again were contractor grade, mismatched, and very dated (and the house is only 10 years old). When you buy a home you immediately want to make it yours and replacing the above items was just a start as we are always looking to make changes and upgrades. We would love granite countertops, but the almighty dollar speaks and sometimes you can only do so much.
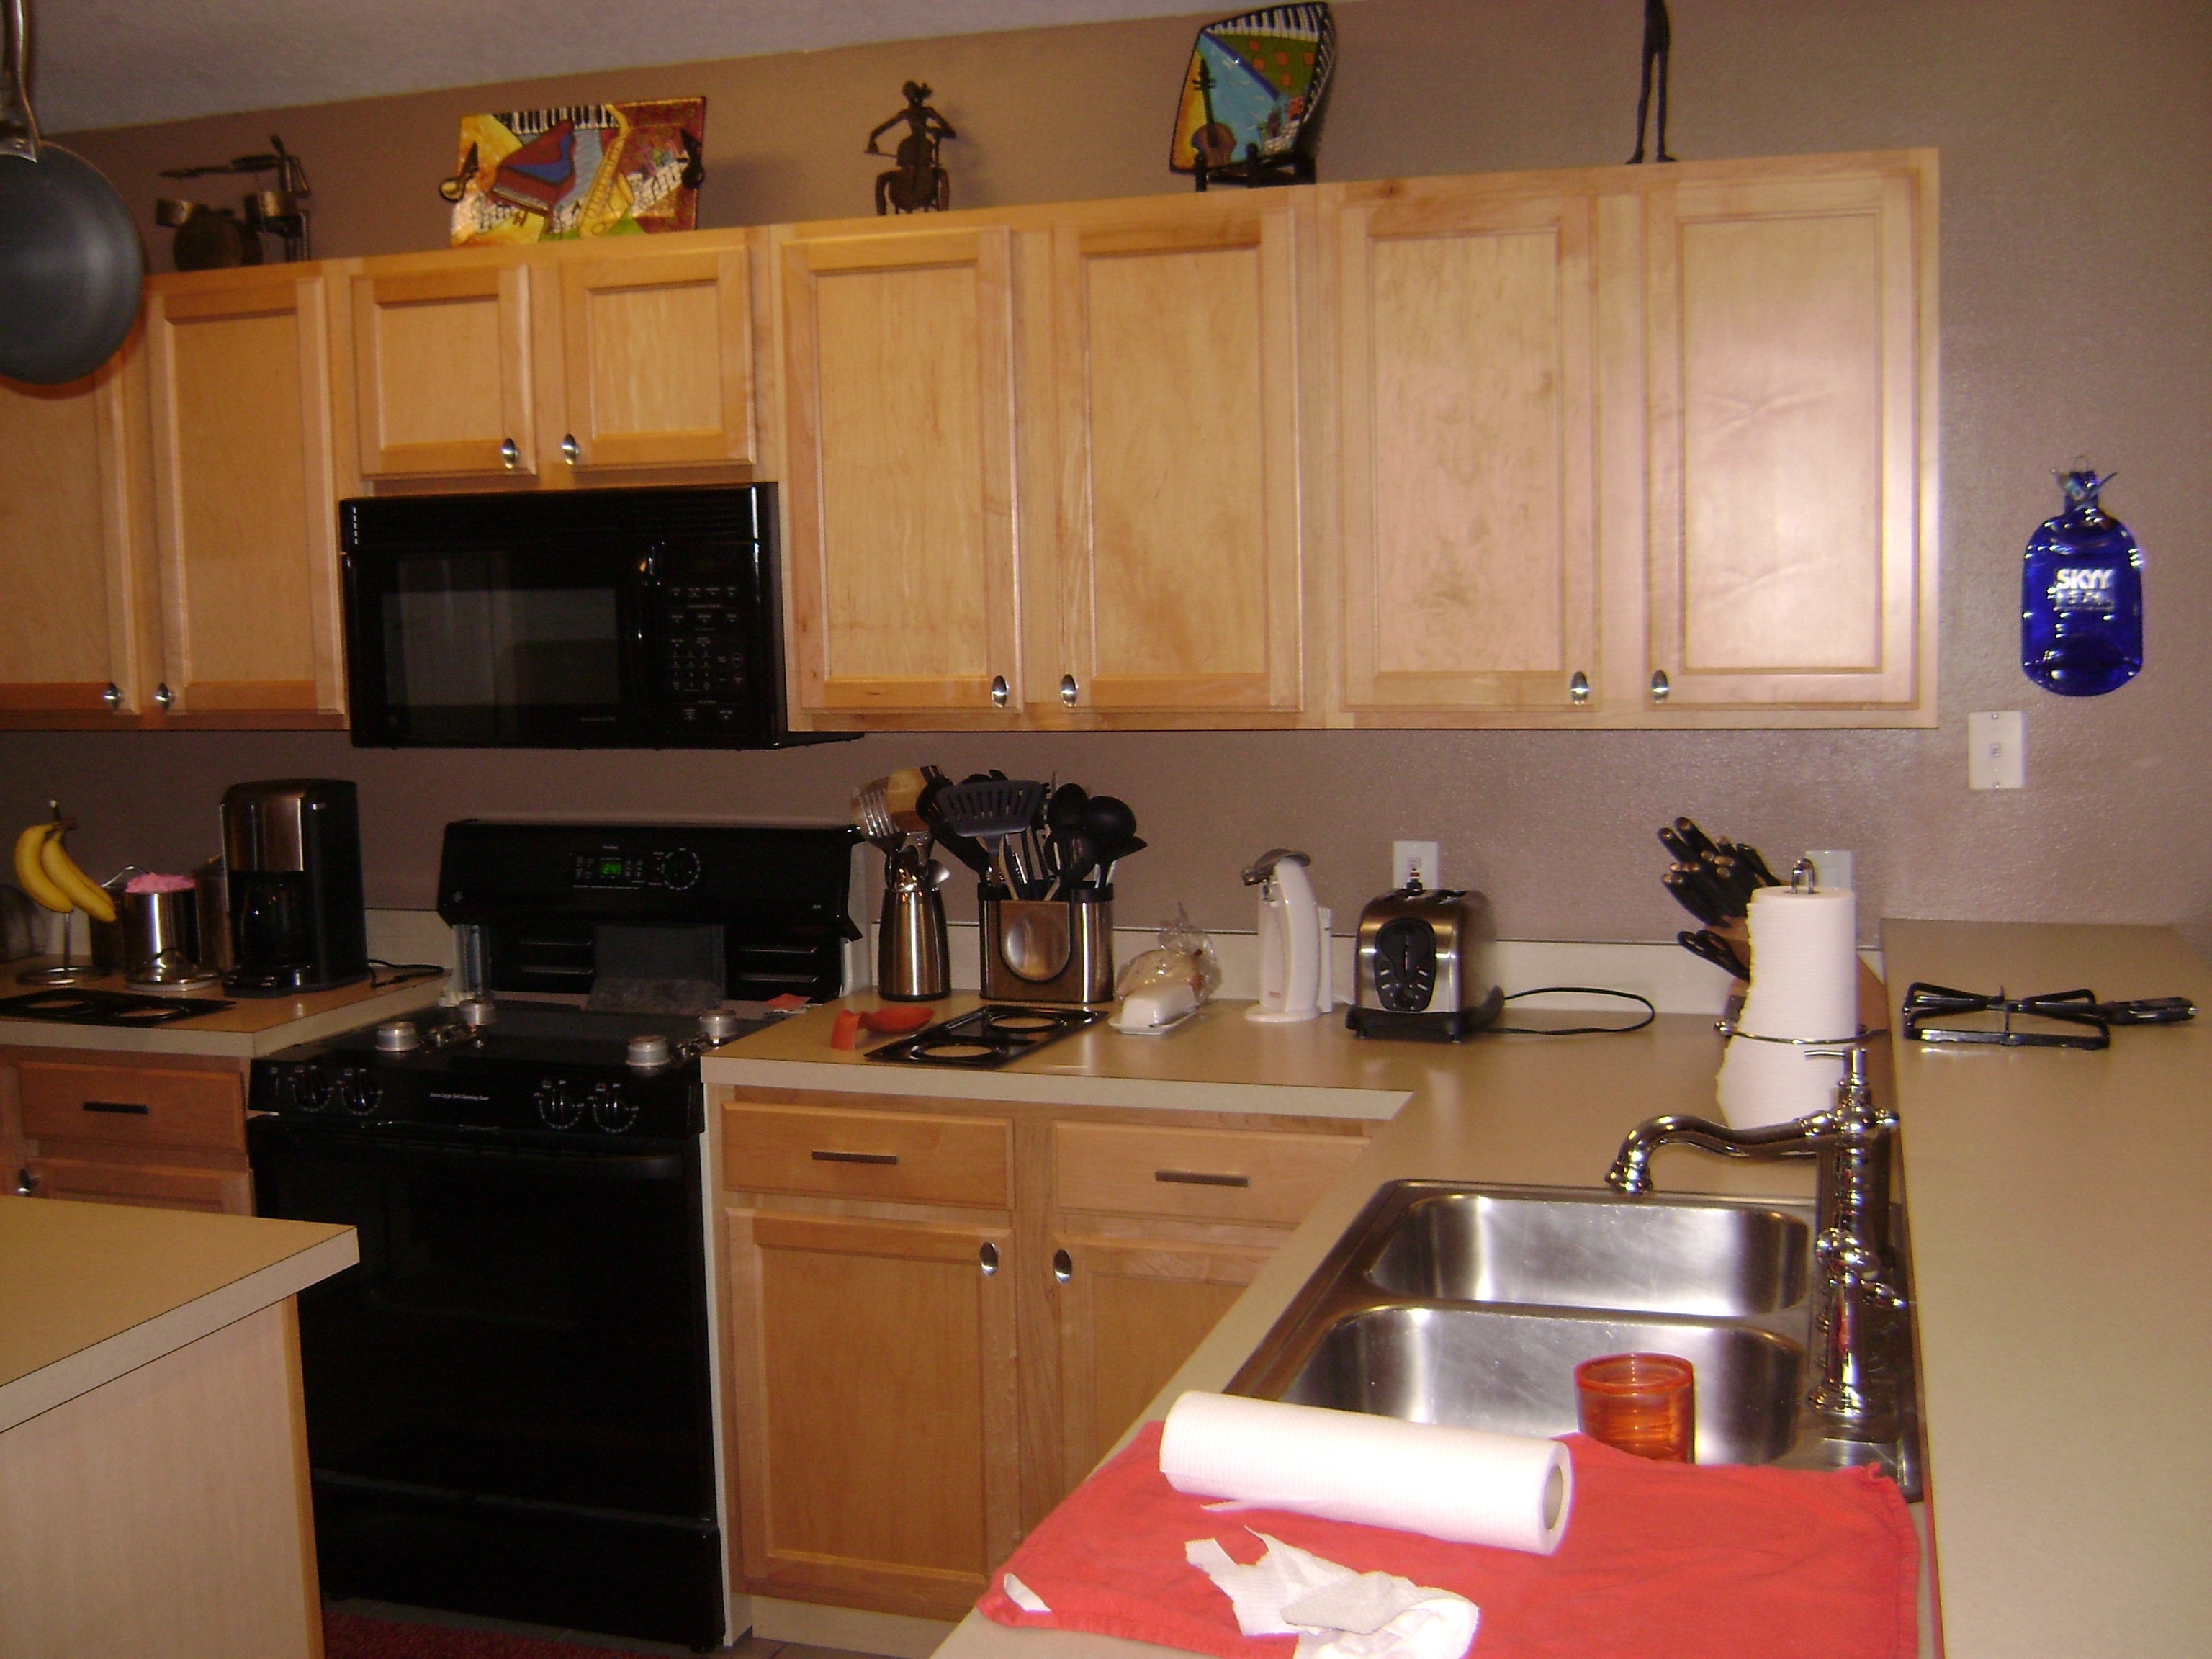
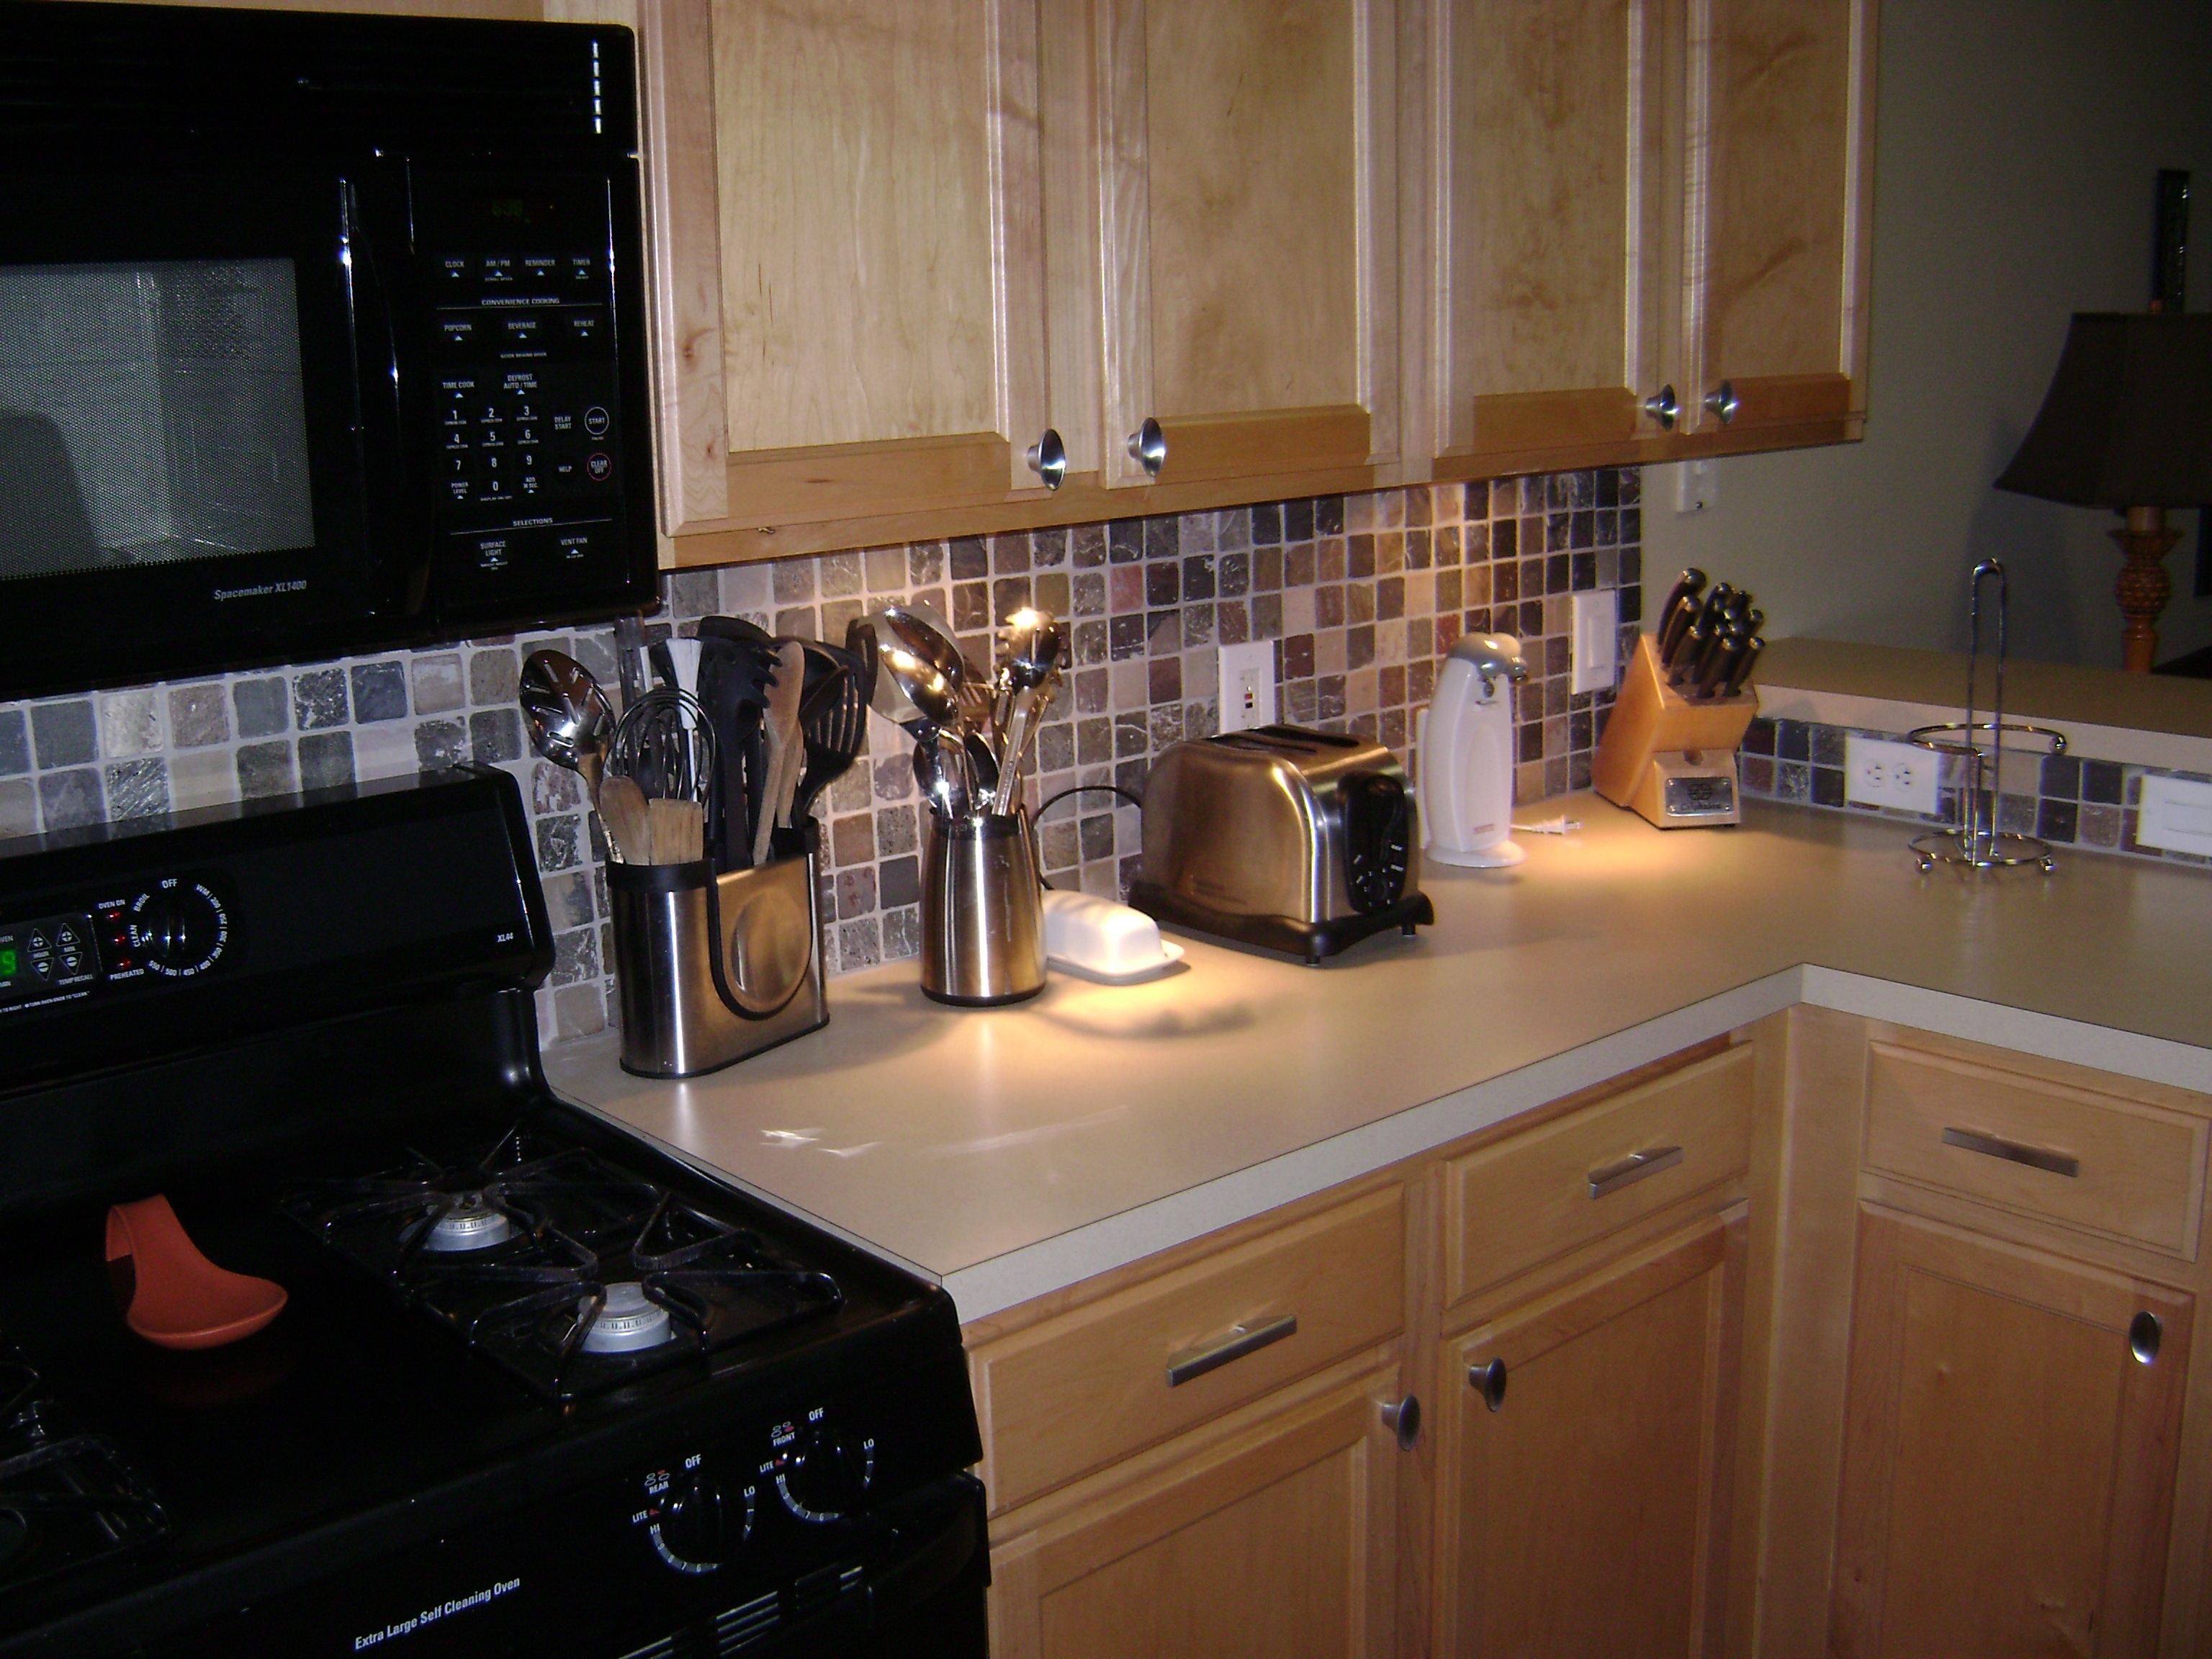
We know down the road that we might like to be in another house and we do live in a very nice neighborhood, but do we live in a “granite countertop neighborhood” and would we even get that money back if we did decide to sell? What we decided to do was to leave the laminate countertops, but replace the 4 inch tall laminate backsplash with tile. We did this in the kitchen and the guest bathroom and all I can say is wow what a difference. I was actually going to leave the existing backsplash and tile up to the bottom of the kitchen cabinets, but my brother in law who is a contractor up in Chicago told me to remove it. When he mentioned this I immediately thought it was a great idea and couldn’t wait to try it.
To remove the existing backsplash I used a putty knife, a five in one tool and a rubber mallet to free up the adhesive. The key is to not damage the laminate top that is going to remain and of course the wall. Once it was removed I used a putty knife to remove the loose adhesive and caulking that was left behind. I then patched up the walls with a little drywall compound and then put a coat of Valspar Multi Purpose Primer over the area that was going to be tiled. I wanted maximum adhesion and no problems whatsoever. In the kitchen I used a slate tile on 12 x 12 sheets with netting on the back that kept the tiles in place. To adhere the tile to the wall I used mastic with a very earthy colored gray for my grout. In between the countertop and tile I used 1/8th spacers and then used the same colored caulk which gives the appearance of grout in that gap. The caulk is really great stuff and very resistant to water of course.
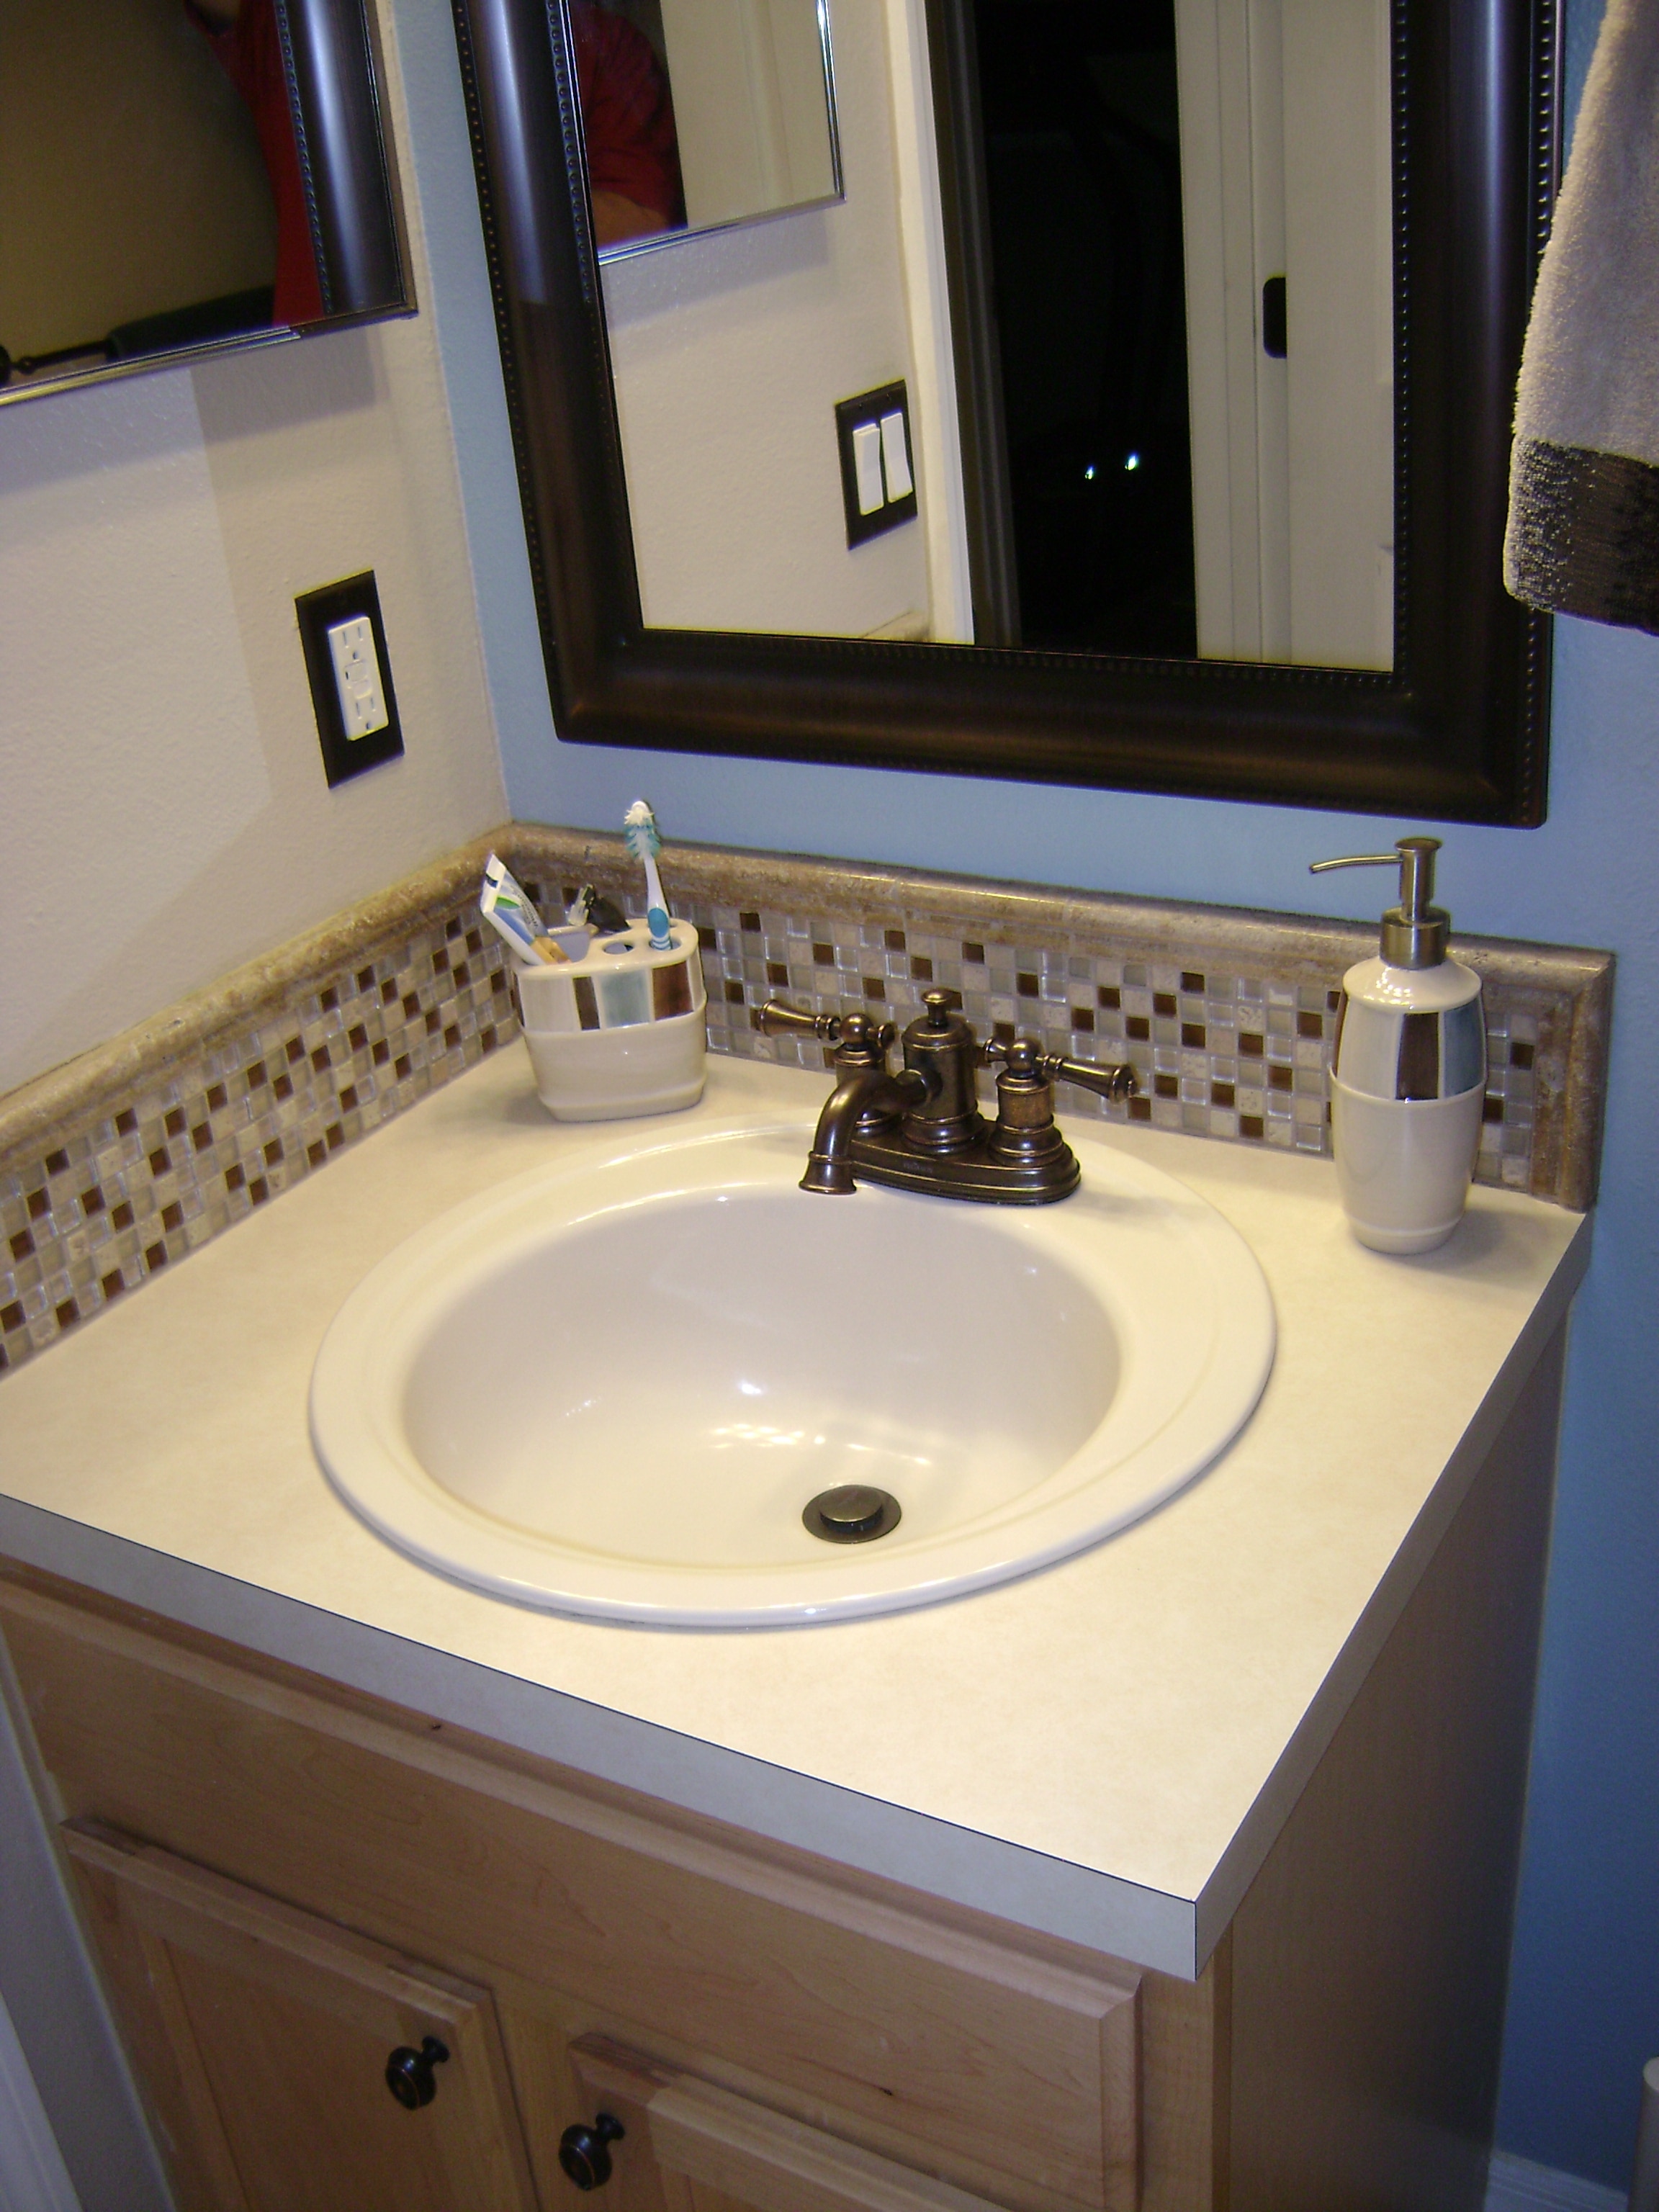
Now for the bathroom I used a very attractive glass tile with multi colors and a nice stone tile for the trim. I really had to improvise to make the beveled cuts. I have a $200 wet saw that can only do so much and was hoping they could make the cuts at Lowe’s, but I had no such luck. I ended up using zip ties (or cable ties) around the trim and fastened it to a angled carpenters square. I then had the angle I needed to make my cuts. Now the cuts weren’t perfect, but considering what I had to work with they were pretty darn good. I knew if I chose the right colored grout the gaps would fill in nicely and I was right. This time to adhere the tile to the wall I used a product called Simple Mat – Tile Setting Mat. No mess, no mixing, no mortar as this product is simply sheets of adhesive that bonds the tile to the wall. I liked the mastic better, but this product worked as advertised.
I think the pictures really illustrate what I was able to accomplish on a low budget. I know it’s not granite, but again I am very happy with how it turned out and it looks 10 times better than what it did. My dad has always said buy nice equipment or tools, read up on how to do things, ask a lot of questions and give it a shot. To sum this project up, I saved a ton of money, have the satisfaction of a job well done, and have a much better looking kitchen and guest bathroom.
Feel free to contact Wendy if you are interested in Lakewood Ranch Florida Homes.


